MTF MK Lens conversion
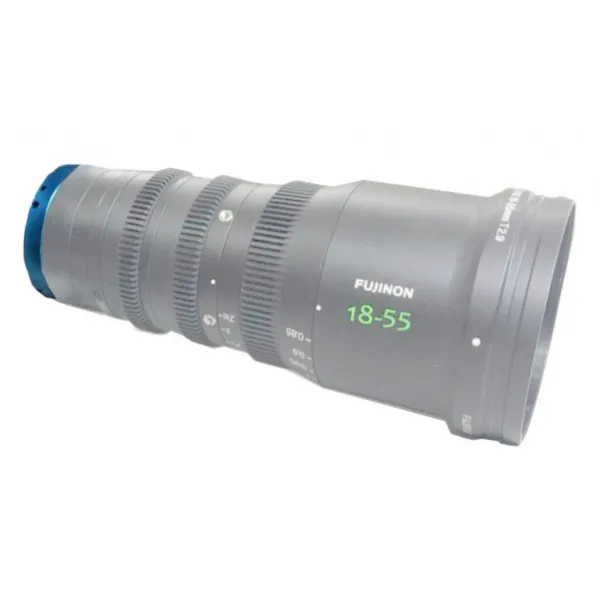
 MTF
MTF₦ 800,744.69
VAT Included
VAT Included
Available in 10 days
1. Remove E mount from the lens.
This is done by undoing the 4 small black screws on the mount.
(Do not lose the shims under the mount)
2. Remove Green Collar from the lens
This is done by removing the 3 cross head screws which are around the outside of the collar.
Also around the outside are some very small set screws which are used to centralise the mount.
These may have to be loosened and for this you will need a 1mm Allen key.
3. Fit our Blue Collar in its place
There is a dimple on the side which should line up with the indicator lines on the side of the lens.
4. Take plastic baffle tube from the back of the E mount using the same 3 fixing screws, attaching the same way to the RF mount
5. Fit RF mount to lens.
It is easier to put the shims onto the back of the RF mount, line up the shim cut outs for the screws, then fit to the lens using the screws provided.
Adjust back focus as normal.
This is done by undoing the 4 small black screws on the mount.
(Do not lose the shims under the mount)
2. Remove Green Collar from the lens
This is done by removing the 3 cross head screws which are around the outside of the collar.
Also around the outside are some very small set screws which are used to centralise the mount.
These may have to be loosened and for this you will need a 1mm Allen key.
3. Fit our Blue Collar in its place
There is a dimple on the side which should line up with the indicator lines on the side of the lens.
4. Take plastic baffle tube from the back of the E mount using the same 3 fixing screws, attaching the same way to the RF mount
5. Fit RF mount to lens.
It is easier to put the shims onto the back of the RF mount, line up the shim cut outs for the screws, then fit to the lens using the screws provided.
Adjust back focus as normal.